
This DIY envelope project is so quick and easy. I love it!
I mean, how cool are these envelopes!?!


What You'll Need:
Envelope (small or large)
Glue Stick
Scissors
Pen
Magazine
I used an old LIFE magazine because I love the old photos in them.

Let's do it!
Step One.
Take an envelope and unfold it.
Be careful not to rip it!
Feel free to use a large or small envelope.
Be careful not to rip it!
Feel free to use a large or small envelope.
I'm using a small one here:

Take a page out of your magazine:

Lay the envelope over the picture and trace the envelope onto the paper:

Cut it out:

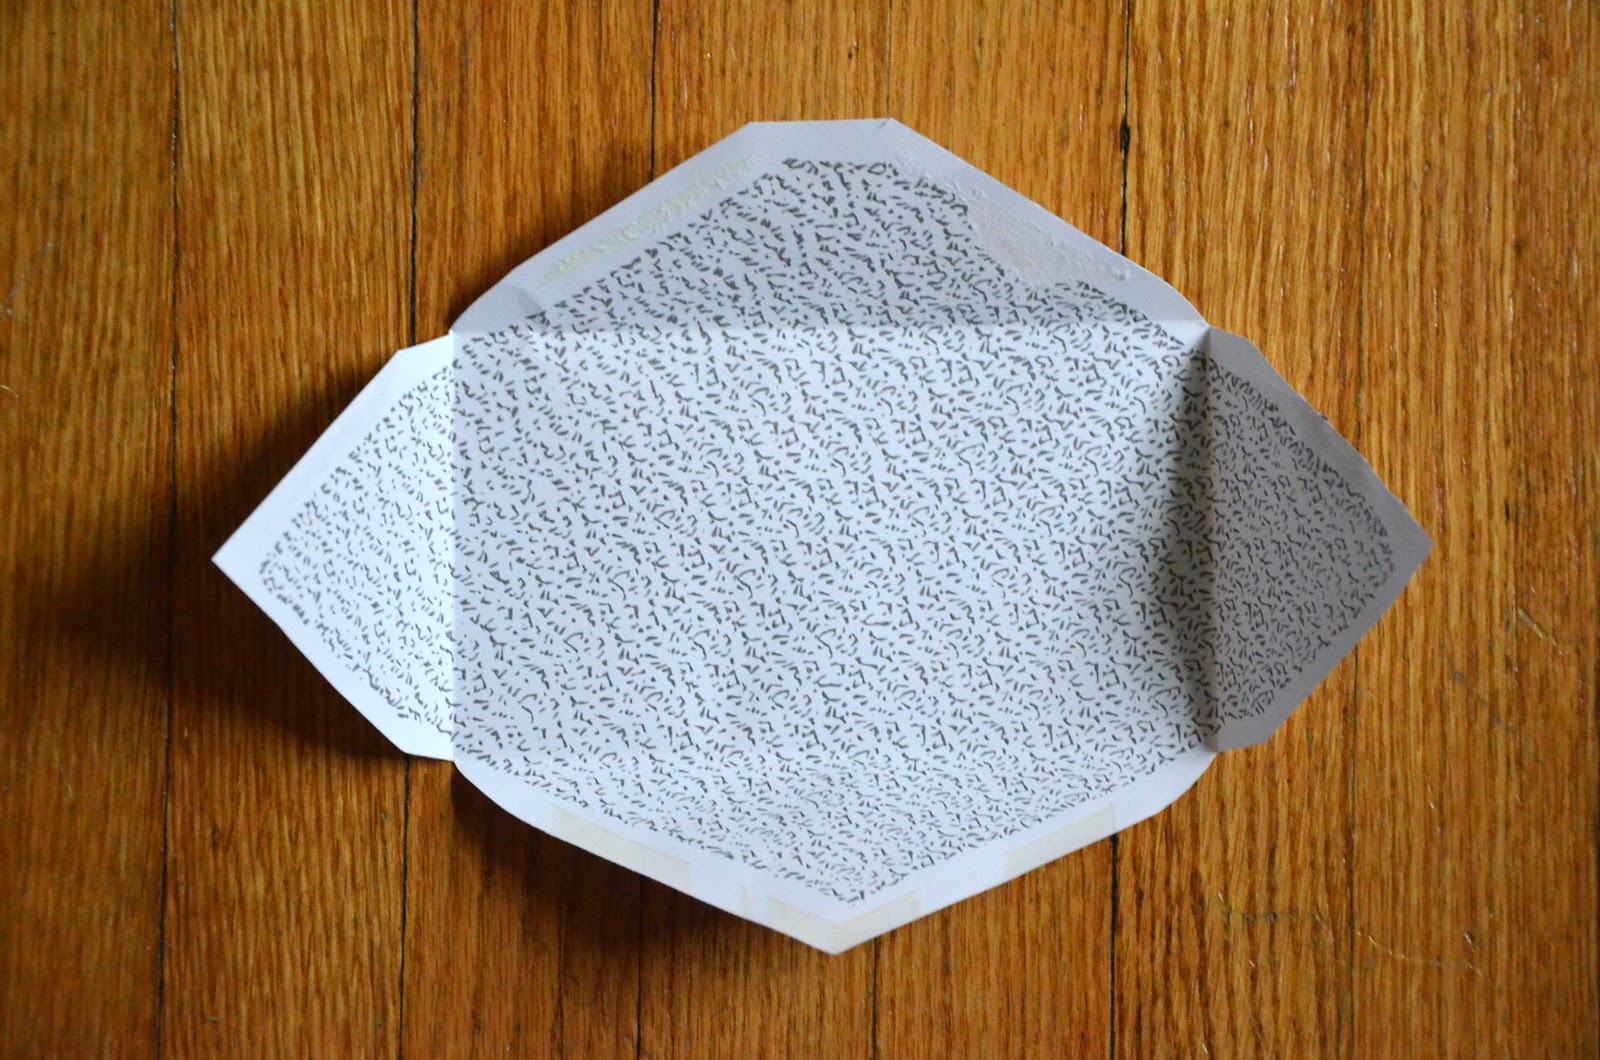
Place the side you like face-down and begin folding the sides in:
Fold the right and left sides in.
The tips of the triangles should NOT touch.
The tips of the triangles should NOT touch.

Fold the bottom lip up. The bottom lip is the triangle with a flat top:

Use a regular envelope or a piece of paper to place under the side triangles, so you don't get any glue on the inside of the envelope. Glue along the edge of the side triangles.
Press them to the bottom lip:
Press them to the bottom lip:

Once you glue the sides, fold the bottom up and press it down to make sure it sticks. Then, fold the top down. Don't glue the top since this is the envelope's flap!

YOU'RE DONE!

Snail Mail Tips:
Put a label on the envelope so the post office can clearly see where it's going.
Use a heavier paper so your envelope doesn't rip during the mailing process.
ENJOY!!
This project was inspired by:
Oh my God.
ReplyDeleteThis is fantastic.
Thanks so much!
you make it all...Can you make Gift Card envelopes?
ReplyDeleteThanks for the post and effort!
ReplyDeleteIt’s great to know about many things from your website blog.
ReplyDeleteExcellent post I got a lot of knowledge after reading good luck.
ReplyDeleteImmensely thought out! This was the most detailed article
ReplyDeleteYour blog provided us with valuable information to work with.
ReplyDeleteThanks a lot for sharing. Keep blogging
ReplyDelete
ReplyDeleteNice information, you write very nice articles, I visit your website for regular updates
ReplyDeleteor just what the theme is called. Appreciate it!