I love Mason Jars.
This project shows you an easy way to jazz up your Jars, Glasses, or anything really!

What You Will Need:
- Jar or Glass. Anything you would like to stencil
-A Stencil
-A Printer to print out a stencil if you don't have one
-Spray Paint. You could use any paint really.
-Q-Tips
-Q-Tips
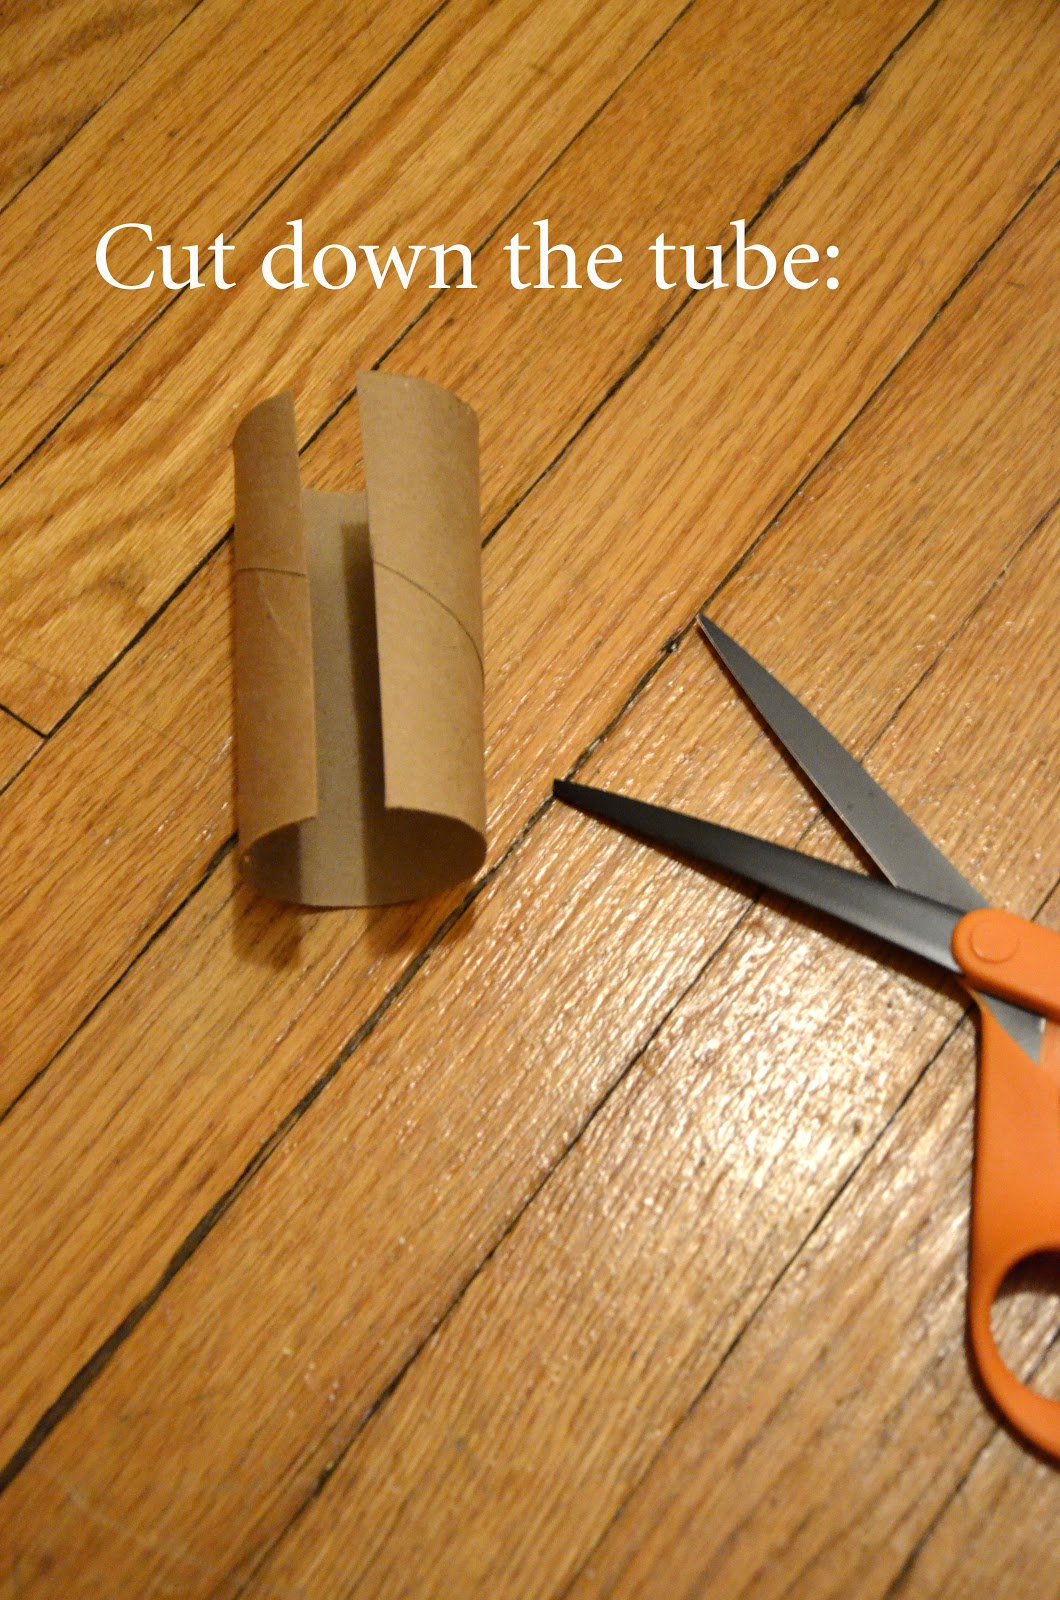
-Scissors
-Crafting Knife or Box Cutter. Something to cut the stencil out
-Tape
Optional:
Clear Coat Spray Paint
Clear Coat Spray Paint


I would recommend putting a clear coat over your finished product if you plan on using it often.

Let's Begin!
Start by finding a stencil you like, print it, and cut it out.
If this is your first time cutting out a stencil you will want to do something basic.
If this is your first time cutting out a stencil you will want to do something basic.

Wrap the stencil around your Jar and tape it.
If you are worried about the paint getting on other areas of the jar,
tape another piece of paper over the exposed spots.

Don't worry if you have pieces sticking up.
You can hold them down as you spray or paint.

Spray Paint your stencil.
Hold down the pieces of the stencil that are popping up.
Try to spray one area at a time until the entire stencil is covered.
Don't overspray or your stencil will run.

When you are finished carefully take the stencil off.
You can wait 15 minutes if you want.
The stencil will probably come off easier if you wait a bit or blow dry it a little.
Use a Q-Tip to fix any areas that may have smudged:

When your picture is dry, spray a layer or two of clear coat over it
and let it dry completely. Remember, this is optional.

YOU'RE FINISHED!