Saturday, July 07, 2012

Home Decor Art: Quilting Hoop Wall Art with Scrap Fabric

This project is a cheap and easy way to make art for your home.
There are so many ways to do this project and the end result is nothing short of artsy!


What You Need:

-Quilting Hoops. You can find these at any local hobby or sewing shop. Get as many as you want! Try to pick out ones that are different in size. Please make sure when you buy your quilting hoop that there are two pieces! There should be an outer circle and an inner circle. Sometimes the inner circle falls out, so just make sure it's there before you buy it!
-Scraps of Fabric, Bed Sheets, any kind of fabric that is at least 1" larger than your circle will work.
-Scissors
-Glue Gun
-Tacks or nails and a hammer to hang them


(Turn on your glue gun)

Take the smaller circle out of the quilting hoop and lay it over your fabric:


Cut out a circle that is 1" away from your wooden circle, like so:
It doesnt have to be a perfect circle.
Just make sure there is at least 1" of extra fabric around the circle. 


Now, you can skip this step and go right to the next one, but I would suggest trying this on your first hoop.
Glue the fabric to the outer edge of the circle and stop when you get half way around:


Once you are half way around, keep gluing, but this time pull the fabric in as you press it into the glue.
You want the fabric to be tight on the circle.
This will pull out the wrinkles. 


Now, glue the extra fabric to the inside of the circle.

If you dont think you need to glue the outside and the inside, you can always just skip the first gluing step and go straight to gluing the fabric to the inside, like so:


Do this around the entire circle:


At this point you have two options:

Option 1:
You can leave the quilting hoop off. This gives the circle a more modern look.
If you broke the clasp off the other part of the quilting hoop you could have another circle to glue fabric to.

Option 2:
 You can slide the quilting hoop back on. This gives the hoop a more natural, country look.
I really enjoy this look.

Either way its up to you!!

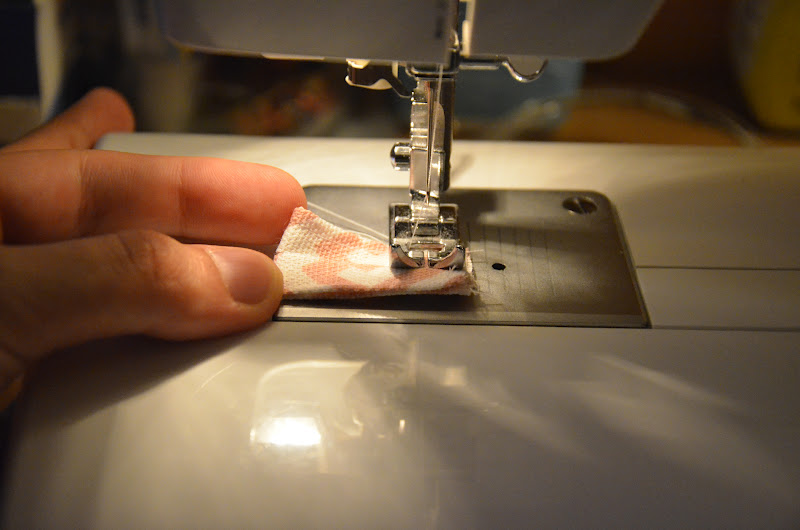
You could even stitch something onto these fabric circles too!!
Oh the possibilities! 

Now, repeat these steps with your other hoops and you're good to go!

Once you have all of your hoops made hang them up.
Here is how I did mine:


Those birds are really awesome wall tattoos that peal off!
Buy some of your own Here.


Happy Crafting!!


Recycle Old Clothes: Turn White Ribbed Tanks into New Colorful Tops

This tutorial will show you how easy it is to recycle clothes!
Here we will take a pack of men's ribbed tank tops and dye them.
They turn out so cute and are perfect for summer.


What You Will Need:
-A pack of men's tank tops or an old shirt

-Rit Dye: pick out any color you choose! You can find this dye at a large food store, hobby lobby, or any craft store. Do note: if you are going to try to dye something that is dark, try bleaching it first. This tutorial is an example of how to color clothing that is lighter in color. However, dont be afraid to get creative! Click Here to see how to mix their base colors together to get specific shades. 

-A bucket, extra large bowl, or a sink. There are many different ways to dye clothing. Read the directions on your bottle and do whatever works for you. For this tutorial I will be using a large bowl. 

-A poker stick, a ruler, anything to push the clothes around while they are being colored

-Washing Machine or Hand-wash


First, go to the sink and fill your bowl with hot water:


Start pouring in the dye.
I didn't measure. 
I would say I used 1/4-1/2 a bottle.
The more you use the darker it will be.


Give the dye a good stirring before putting in your clothes.


Put in your tanks.
I would recommend only putting in two-three at a time if you are using a bowl.
If you dye more than 3 at a time they turn out a little splotchy.


Stir the clothes into the dye.
Stir for about 2 minutes.
Make sure the clothes are fully submerged and saturated.


Set the time.
I kept my tanks in the dye for an hour. 
The longer you leave them in there the darker they will be.
However long you leave them in there, make sure you stir the tanks around every 8-10 minutes.
This helps the dye get to the parts of the fabric that may have folded over.


After your time is up, rinse out the tanks in cold water:


Now you will wash your clothes using the warm water/cold rinse cycle.
Tumble dry on the normal setting or hang dry.


YOU'RE FINISHED!!!


Now try that cute little top on!


ENJOY!!!


Sunday, July 01, 2012

How to Make Bows for Bobby Pins and Headbands

This tutorial is an easy and fast way to learn how to make mini bows for bobby pins and headbands. I think these are so cute and look great on just about everyone!


What You Need:
-Fabric, not much at all. Any style or thickness you'd like
-Sewing Machine
-Scissors
-Measuring Tape
-Iron
-Bobby Pin or Headband
-A pencil or pen to help you push your fabric right-side out


Lets Begin!


For the bow:
Measure 4 1/4" X 3" on your folded fabric and cut.
Once you do that, cut the fabric in 1/2 and you will have your two pieces for the bow.
You can also choose to cut one out at a time. 

For the Tie for the bow:
Cut out one 4" X 2" piece of fabric


Take the tie of the bow, or the smaller piece
and fold one side over and press with an iron.


Press the whole thing now:


Go to your sewing machine and straight stitch down each side of the wrong side close to the edge:


It will look something like this:


Now take the two larger pieces for your bow and lay them right side facing in:


Start at one end and sew all the way around the rectangle until you are 1-2 inches from where you started.


Make sure to leave enough room to turn your bow right side out.


Turn your bow right side out:
Use a pencil or paint brush to help you push it through.


Now, take the open hole on your bow and fold it in, then sew it closed.
Sew close to the edge:


 Press the bow with your iron after you sewed it shut.

Now, take your tie and fold it wrong side out:


Sew it about 1/4-1/2" in from the raw edge:

(Later on: when you put your bow into the tie, if the tie is too large go back to this step and sew the tie in a little further)


Should look something like this
Cut the extra edge off
Then, fold it right side out:


Take your bow and fold it back and forth like so:


Then take your tie and push your bow into the circle:


Ta-da!!

A cute little bow!


For bobby pins:


Headbands:


P.s.
If you would like your bow to be shorter, make your bow squares of fabric 4" or 3 3/4" X 3".
ENJOY!!!